Scanning with iPhone is a fast and simple method to turn important papers and receipts into digital files.
Use the Notes app to scan any document quickly and save it to your device or cloud storage.
Whether it’s a work contract or a dinner recipe, the scanning feature in the Notes app helps you organize and access your documents effortlessly. Keep everything in order with just a few taps.

Scan documents on iPhone
To scan documents on an iPhone, use the camera to take a picture of the document and turn it into a digital file like a PDF or JPEG.
You can do this in the Notes app or with a third-party scanner app.
The Notes app comes with a built-in document scanner, simplifying the process of scanning various documents like contracts, receipts, letters, and more.
It’s user-friendly for all types of scans.
Why scan documents with your iPhone?
Scanning documents with your iPhone has several benefits:
- Convenience: No need for a scanner or computer; just use the Notes app on your iPhone.
- Speed: It’s quick! Scanning a document with your iPhone takes only a few seconds.
- Accuracy: The Notes app uses optical character recognition (OCR) for precise, high-quality scans.
- Organization: Save your scanned documents in the Notes app’s folders for easy access and retrieval later. Stay organized effortlessly.
How To Scan
To scan a document with your iPhone, follow these steps:
- Open the Notes app.
- Tap the camera button (+) in the top-right corner of the screen.
- Tap Scan Documents.
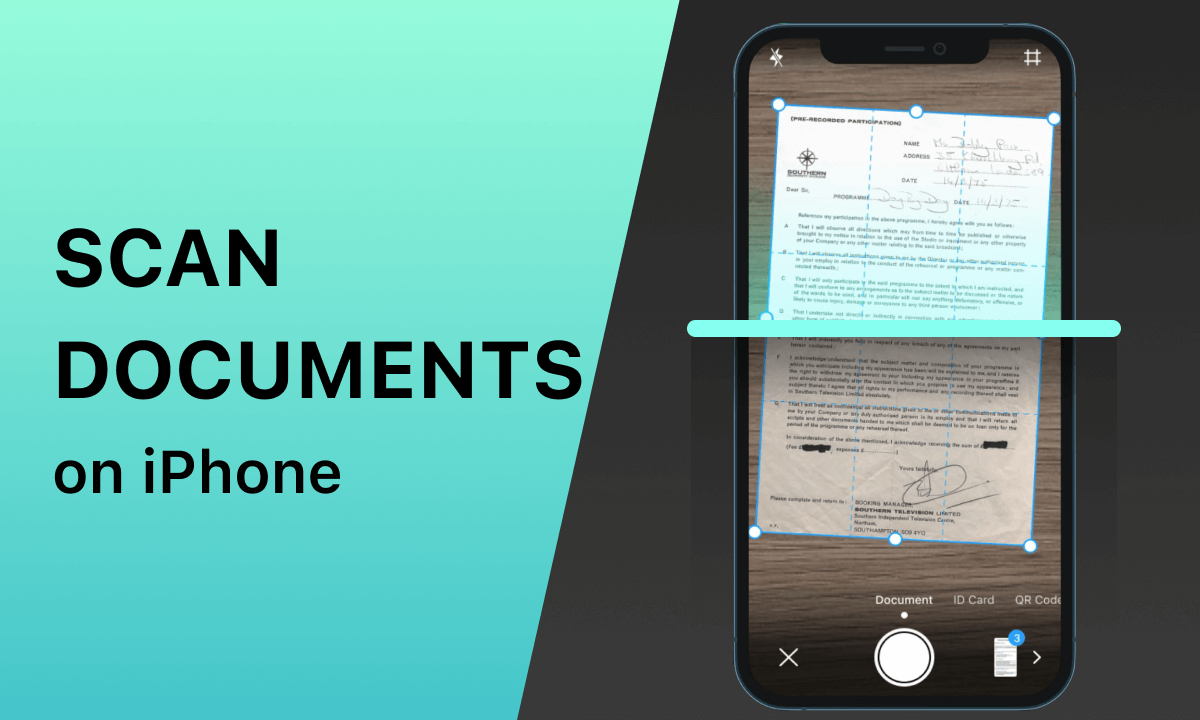
- Place your document in view of the camera.
- Tap the shutter button to scan the document.
- Review the scan and tap Keep Scan to save it.
- To scan additional pages, repeat steps 4-6.
- Once you’re finished scanning, tap Done.
Getting Better Scans
For the best scans with your iPhone, follow these tips:
- Setup: Put your document on a flat, well-lit surface.
- Glare Check: Watch out for glare on the document.
- Large Documents: For big papers, scan in parts if necessary.
- Full Coverage: Ensure the yellow box covers the entire document for a complete scan.
- Adjustments: If needed, tweak the scan corners to fit the page perfectly.
Alternative scanning application
Explore various scanning apps for your iPhone, both free and paid. Check out some popular ones:
- Adobe Scan: It’s a free and robust app allowing you to scan multiple documents, create multi-page PDFs, and save scans to cloud storage.
- Microsoft Office Lens: Another free option integrated with Microsoft apps, offering features like scanning business cards, whiteboard notes, and documents.
- Genius Scan: A paid app recognized for accuracy and user-friendliness. Scan multiple documents, create multi-page PDFs, and save them to cloud storage.
- CamScanner: Available in both free and paid versions, it lets you scan multiple documents, create multi-page PDFs, and save scans to cloud storage.
- Simple Scan: This free app is praised for its simplicity. Scan single-page documents, create multi-page PDFs, and save scans to your iPhone or cloud storage.
How to Choose Alternative Apps
When picking a different scanning app for your iPhone, think about your needs. Consider these factors:
Features: Do you want to scan many docs or create multi-page PDFs?
Price: Are you okay with paying for a top-notch scanning app?
Integration: Do you need it to work with other apps like OneNote or Word?
Ease of Use: How easy is the app to navigate?
Accuracy: How precise are the scans it makes? Think about these to find your best fit.