How to Sync iPhone with Mac: A Step-by-Step Guide
In today’s interconnected world, syncing your iPhone with your Mac is essential for seamless access to your data wherever you go.
Apple’s ecosystem makes this process straightforward and customizable.
This guide provides step-by-step instructions to help you effortlessly sync your devices and keep your digital life organized.
Initial Setup: Connecting Your Devices
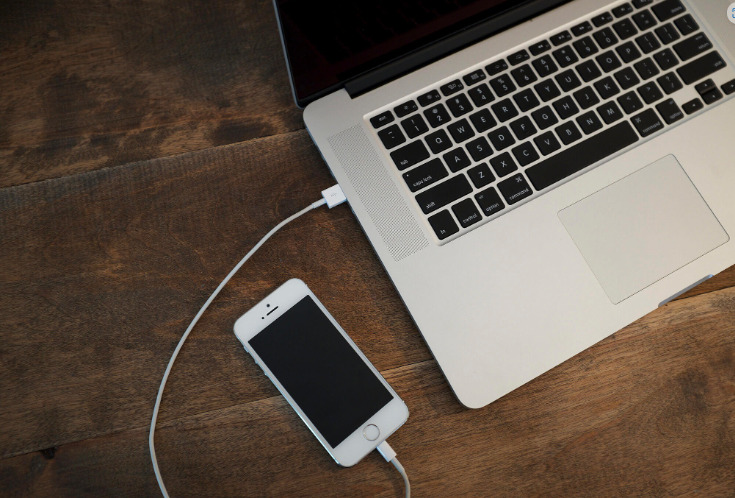
- Connect Your iPhone to Your Mac: Use a USB or USB-C cable for the initial setup. Ensure both devices are powered on and unlocked.
- Open Finder: Your iPhone should appear in the Finder sidebar. If not, check your cable connection and ensure you have the latest macOS version.
- Trust Your Device: If prompted, trust your iPhone by following the on-screen instructions.
Wi-Fi Syncing: Going Wireless
Enable Wi-Fi Syncing
In Finder, select your device and navigate to the ‘General’ tab. Check “Show this [device] when on Wi-Fi” and click ‘Apply’.
Automatic Sync
Choose the content types you want to sync automatically whenever your devices are on the same Wi-Fi network.
Selecting Content: Customizing Your Sync
- Choose your content: Click on the content type you want to sync (e.g., music, photos) and customize your preferences.
- Customize Sync: Select specific items or sync entire libraries within each content type for personalized syncing.
Syncing Specific Content Types
- Music and Podcasts: Select playlists, artists, albums, and genres to sync to your iPhone.
- Movies and TV Shows: Choose movies or episodes to sync from your Mac to your iPhone.
- Photos: Sync all photos or selected albums, including shared albums.
- Books and Audiobooks: Keep your reading material and audiobooks synced across devices.
- Files and Documents: Ensure your work files and documents are always up to date.
Final Steps: Completing the Sync
- Apply Settings: Once preferences are selected, click ‘Apply’ to initiate the sync process.
- Eject Your iPhone: Before disconnecting, click ‘Eject’ in the Finder sidebar to safely remove your device.
Troubleshooting Tips
Check cable connections and try different USB ports if your iPhone doesn’t appear in Finder.
Ensure devices are on the same Wi-Fi network for Wi-Fi syncing.
Keep macOS and iOS updated for optimal syncing performance.
Conclusion
Syncing your iPhone with your Mac is a simple yet powerful way to keep your digital life organized.
Whether you prefer wired or wireless syncing, Apple’s ecosystem offers flexibility and customization to suit your needs.
Follow these steps to ensure your devices work together seamlessly and stay in perfect harmony.
ALSO READ: How to Use Siri on iPhone 14: The Ultimate Guide to Mastering Your Smart Assistant!